amazon s3 バックアップ、pythonで書いてみる。
Get Started With Amazon Simple Storage Service
http://docs.amazonwebservices.com/AmazonS3/latest/gsg/GetStartedWithS3.html?r=9648
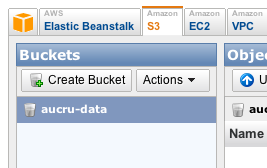
create a bucket
https://console.aws.amazon.com/s3/home?#
Add an Object to a Bucket
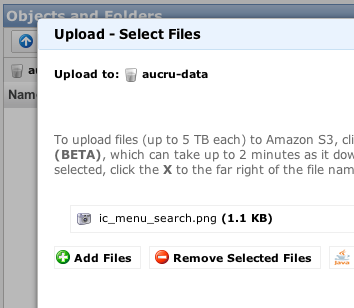
普通にuploads – add files – upload でファイルを上げるだけです。
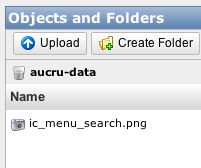
こんな感じで。
=== ここから ===
* s3 docs rest
http://docs.amazonwebservices.com/AmazonS3/latest/dev/Welcome.html
http://docs.amazonwebservices.com/AmazonS3/latest/dev/RESTAPI.html
* python
http://aws.amazon.com/code/Python/134
認証して、リストを取ってみる。
http://docs.amazonwebservices.com/AmazonS3/latest/dev/RESTAuthentication.html
key
https://aws-portal.amazon.com/gp/aws/securityCredentials
Access Key ID Secret Access Key Status
tokyoを利用するので
http://docs.amazonwebservices.com/general/latest/gr/rande.html#s3_region
S3.pyにTOKYOを追加
618行
DEFAULT = None
EU = ‘EU’
TOKYO = ‘ap-northeast-1′
s3-driver.pyから接続、bucket作成、list取得
print ‘—– bucket already exists! —–‘
else:
print ‘—– creating bucket —–‘
print conn.create_located_bucket(BUCKET_NAME, S3.Location.TOKYO).message
# to create an EU bucket
#print conn.create_located_bucket(BUCKET_NAME, S3.Location.EU).message
print ‘—– bucket location —–‘
print conn.get_bucket_location(BUCKET_NAME).location
print ‘—– listing bucket —–‘
print map(lambda x: x.key, conn.list_bucket(BUCKET_NAME).entries)
sys.exit()
ここまで
—– creating bucket —–
200 OK
—– bucket location —–
ap-northeast-1
—– listing bucket —–
[]
ap-northeast-1で作成されたので問題ない。
S3.py
DEFAULT_HOST = ‘s3.amazonaws.com’
のままだとTOKYOに作ったbucketデータを取得できなかった。(当たり前と言えば当たり前だけど、ブラウザのconsoleから作成した物(tokyo)は取得できた。)
DEFAULT_HOST = ‘s3-ap-northeast-1.amazonaws.com’
にすると問題ない。複数利用するかたは、endpointを切り替える必要がある。
* ファイルをアップロードしてみる。
filebytes = open(filename, ‘rb’).read()
content_type = mimetypes.guess_type(filename)[0]
print content_type
print conn.put(
BUCKET_NAME,
filename,
S3.S3Object( filebytes ),
{ ‘Content-Type': content_type }).message
—– bucket location —–
ap-northeast-1
—– listing bucket —–
[u'test.tar.gz']
—– putting object (with content type) —–
application/x-tar
200 OK
—– listing bucket —–
[u'test.tar.gz']
こんな感じで。consoleからダウンロードしてみたり。OKでした。
同じ名前だと上書きされました。
こんな感じで、固めたファイルを毎日更新していく。
botoというのをみんな使っているようですが、
docmentとsampleを見ながら進めた方が自分で改良する方は良いのかも。
* 380Mをアップロードしてみる。
さくらのVPSから 58.6 sec
51.87 Mbps 速いですね。
今更ですが、さくらのVPSって回線100Mbpsなんですね!10かと思ってました。良いですね。
- Prev amazon aws アカウント作成
- Next ミート矢澤のランチ
- Prev amazon aws アカウント作成
- Next amazon AWS 利用料金の確認 | s3